LED Mirror Installation Tips for DIY Homeowners
1. Introduction
Over the past few years, LED mirrors have become one of the most sought-after additions in modern bathrooms. From enhancing lighting to creating a sense of space and luxury, these mirrors do more than just reflect your image—they transform your entire bathroom experience. As a homeowner who enjoys tackling home projects myself, I’ve realized that installing an LED bathroom mirror isn’t just a way to upgrade your space—it’s also a satisfying DIY project that can be done with the right preparation and guidance.
More and more DIY homeowners are choosing to handle LED mirror installation on their own. Why? It’s cost-effective, customizable, and gives you full control over placement and design. Plus, the process isn’t as intimidating as it might seem at first glance. With a few essential tools, a careful approach, and a bit of patience, you can easily learn how to install an LED mirror safely and professionally without hiring an electrician.
In this guide, I’ll walk you through the practical steps, share expert insights, and highlight common mistakes to avoid during the LED mirror installation process. Whether you’ve purchased a sleek wall-mounted mirror or one with advanced smart features, this article will help you approach your project with confidence and precision.

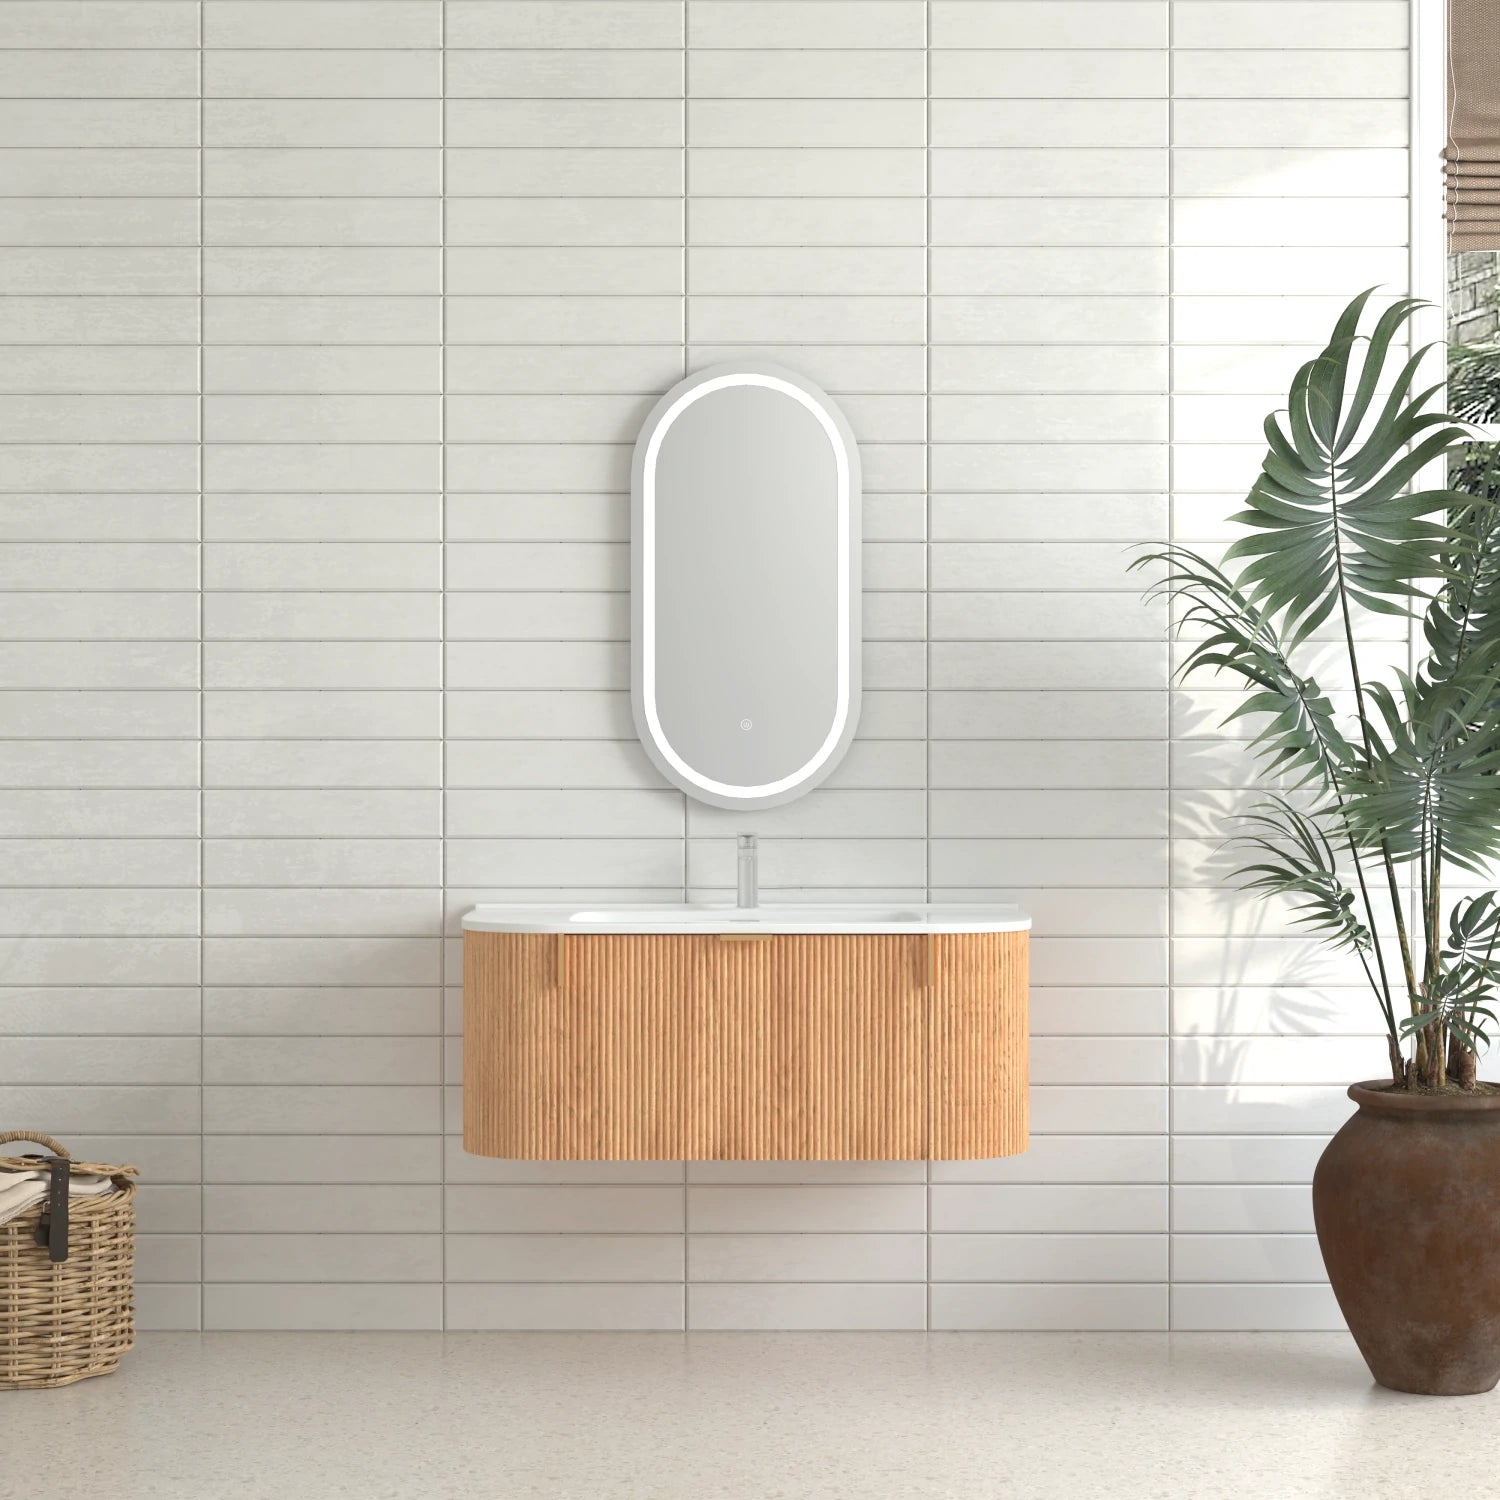
2. Why Choose an LED Mirror for Your Bathroom
When I first decided to upgrade my bathroom, I was surprised at how much of a difference a single fixture could make. Installing an LED mirror completely changed the way my bathroom looked and felt. Beyond its sleek, modern appearance, an LED bathroom mirror delivers practical benefits that go far beyond what a traditional mirror can offer.
Better Lighting for Everyday Use
One of the most noticeable advantages of an LED mirror is its superior lighting quality. The evenly distributed light eliminates harsh shadows, making daily routines like shaving or applying makeup easier and more precise. For me, it created a soft, flattering glow that made my bathroom feel more inviting and professional—almost like stepping into a boutique hotel.
Energy Efficiency and Longevity
Another reason I love my LED bathroom mirror is its energy efficiency. LEDs consume far less power than traditional bulbs and can last for years without needing replacement. That means I can enjoy bright, consistent illumination while keeping my electricity bills low and reducing environmental impact. It’s a simple upgrade that makes a big difference in long-term savings.
Smart and Convenient Features
Modern LED mirrors often come with smart functions like touch sensors, dimmable lights, and anti-fog systems. I personally find the anti-fog feature indispensable—no more waiting for the mirror to clear up after a hot shower. The touch sensor adds a layer of convenience, allowing me to adjust brightness with a simple tap, while dimming options help set the perfect mood for relaxing evenings.
Enhancing Functionality and Aesthetics
Beyond functionality, an LED wall-mounted mirror adds a touch of elegance to any bathroom. The clean lines, ambient glow, and contemporary design create a sense of sophistication that instantly elevates the space. For me, it wasn’t just about installing a mirror—it was about transforming an everyday necessity into a centerpiece of design and comfort.
In short, choosing an LED mirror for your bathroom is about blending beauty with practicality. It’s an investment in both style and usability, and one that any homeowner—especially those who love DIY projects—will never regret.

3. Preparing for Installation
Before diving into the LED mirror installation, I’ve learned that good preparation makes all the difference. Skipping the planning stage can easily turn a simple DIY project into a frustrating experience. Taking the time to understand your LED bathroom mirror type, gathering the right tools, and ensuring safety can make the entire process smooth, safe, and satisfying.
Identify Your Mirror Type
The first step I always take is checking what kind of mirror I’m installing. There are typically three main types: wall-mounted, hardwired, and plug-in LED mirrors. A wall-mounted mirror attaches directly to the wall using brackets or anchors. A hardwired model connects directly to your home’s electrical wiring, giving a clean, cable-free look—but it requires extra caution during installation. A plug-in mirror, on the other hand, is the easiest for DIY homeowners; it simply connects to a standard outlet. Knowing your mirror type helps you plan the wiring and placement properly before making any holes in the wall.
Review the Installation Manual Carefully
Even if I’ve installed mirrors before, I always take a few minutes to read through the installation manual. Every LED mirror can have slight variations in mounting brackets, wiring instructions, or weight distribution. Reviewing the manufacturer’s guide ensures I’m following the correct procedure and avoiding costly mistakes.
Gather the Right Tools
Having the proper tools on hand is key to a smooth installation. Here’s what I always prepare before I start:
- Level – to make sure the mirror is perfectly aligned.
- Drill and appropriate drill bits – for making precise holes in the wall.
- Tape measure – to confirm correct height and symmetry.
- Screwdriver – for securing brackets or screws.
- Electrical tester – to ensure there’s no live current before wiring.
- Anchors and screws – for stable, long-lasting wall support.
Having everything ready beforehand keeps the process organized and prevents unnecessary interruptions.
Prioritize Electrical Safety
When dealing with a hardwired LED mirror installation, safety must come first. Before touching any wiring, I always turn off the electricity at the breaker box. I use an electrical tester to double-check that no current is flowing. This simple precaution can prevent serious accidents and gives me peace of mind while connecting the mirror’s power cables.
Preparation may not be the most exciting part of a DIY project, but it’s the foundation of success. With the right tools, clear understanding of your mirror type, and proper safety measures, you’ll set yourself up for a smooth and confident LED mirror installation experience.

4. Step-by-Step Installation Guide
Now that everything is ready, it’s time for the exciting part — the actual LED mirror installation. When I first started doing these projects, I realized that the secret to a professional-looking result lies in patience, precision, and a clear step-by-step approach. Below is the process I follow every time to ensure my LED bathroom mirror is secure, level, and fully functional.
Step 1: Measure and Mark the Placement
I always start by determining the perfect spot for the mirror. The height should match your eye level or align with your vanity’s centerline for visual balance. Using a tape measure and a level, I mark the top and bottom edges as well as the center alignment. This helps avoid last-minute adjustments once the drilling starts. A little extra time here saves a lot of trouble later.
Step 2: Drill Holes and Install Wall Anchors or Mounting Brackets
Next, I drill holes precisely at the points I marked. If I’m installing a heavy LED wall-mounted mirror, I make sure to use wall anchors or toggle bolts for added support. The anchors help distribute the mirror’s weight evenly, preventing damage to drywall or tile. After drilling, I secure the mounting brackets tightly — they form the backbone of a stable installation.
Step 3: Connect the Electrical Wires
This step is where safety and attention to detail matter most. With the electricity still off, I carefully connect the mirror’s wires to the home circuit. Typically, the LED mirror wiring includes three color-coded wires: live (usually black or brown), neutral (white or blue), and ground (green or yellow). I match them accordingly and use wire nuts to secure each connection. I also double-check the voltage compatibility to prevent short circuits or flickering lights. If I ever feel uncertain, I consult a professional electrician — safety always comes first.
Step 4: Mount the LED Mirror
Once the wiring is complete, I gently lift and mount the LED mirror onto the brackets. This is where a second pair of hands can help. I make sure it slides into place securely and sits perfectly level. A quick check with the level tool confirms that everything aligns neatly — no tilted reflections or uneven edges. Seeing the mirror fit snugly into position is always a rewarding moment.
Step 5: Turn the Power Back On and Test Functions
After mounting, I turn the power back on at the breaker and test all the features. The first time the LED lights illuminate feels incredibly satisfying — it’s the moment that confirms everything worked. I check the touch sensor response, dimming levels, and any smart or anti-fog functions the mirror includes. If all functions operate smoothly, the installation is a success.
By following these steps with care and patience, I’ve found that a DIY LED mirror installation can look just as good as a professional job — and the sense of accomplishment makes it even better. With the right preparation and a steady hand, any homeowner can transform their bathroom with this modern, stylish upgrade.
5. Common Mistakes to Avoid
Even though installing an LED mirror is a manageable DIY project, I’ve learned through experience that a few small oversights can lead to big problems later. Whether it’s rushing through wiring or overlooking wall support, these mistakes can compromise both safety and the look of your LED bathroom mirror. Here are some of the most common errors I’ve seen — and made — and how to avoid them.
Skipping Electrical Safety Checks
This is the number one mistake I always warn homeowners about. Handling LED mirror wiring without proper precautions can be dangerous. I’ve made it a rule to always turn off the power at the circuit breaker before starting any electrical work and to double-check with an electrical tester that no current is flowing. Skipping this step may seem like a shortcut, but it risks shocks or short circuits. Taking those extra seconds for safety can save you from serious harm.
Not Checking Wall Support or Using Weak Anchors
Another common issue is underestimating how heavy a wall-mounted LED mirror can be. Early on, I made the mistake of using the wrong type of wall anchors, and the mirror ended up slightly tilting after a few days. Now, I always assess the wall material — whether it’s drywall, tile, or concrete — and use heavy-duty anchors or screws designed for that surface. Proper support ensures the mirror stays secure and level for years to come.
Installing Too Close to Water Without Proper Sealing
Bathrooms are naturally humid, and moisture can easily find its way into electrical components if they aren’t properly sealed. I once saw a friend’s LED bathroom mirror flicker because of water exposure behind the panel. To avoid this, I make sure to use waterproof silicone sealant around edges when installing near sinks or showers. This small step helps protect both the wiring and the mirror’s longevity.
Forgetting to Test the LED and Defogger Before Final Mounting
It might sound obvious, but I’ve made this mistake myself — finishing a perfect installation only to realize the LED lights or anti-fog function weren’t working. Now, I always test all the features before securing the mirror completely. Checking the brightness, color temperature, and touch sensor responsiveness ahead of time ensures that any wiring issues can be fixed easily, without taking the mirror back off the wall.
In my experience, avoiding these common mistakes is what separates a frustrating DIY project from a flawless one. By prioritizing safety, using proper tools, and taking a few extra moments to test and inspect everything, you’ll enjoy a reliable and professional-looking LED mirror installation that enhances your bathroom for years to come.

6. Maintenance Tips After Installation
After successfully completing the LED mirror installation, I quickly realized that keeping it in top shape requires just a bit of regular care. Proper maintenance not only preserves the mirror’s sleek appearance but also extends its lifespan and ensures the LED lighting continues to perform perfectly. Here are the key steps I follow to maintain my LED bathroom mirror after installation.
Clean with a Soft Cloth and Non-Corrosive Cleaner
When it comes to cleaning, less is more. I always use a soft microfiber cloth to wipe down the surface and avoid any harsh or abrasive cleaners that could damage the mirror’s coating or light strips. A small amount of mild glass cleaner or a solution of water and vinegar works wonders. I’ve found that spraying the cleaner onto the cloth — not directly on the mirror — prevents moisture from seeping into the electrical components, which helps protect the LED mirror’s delicate parts.
Avoid Excessive Moisture Near the Wiring
Because the bathroom is a humid environment, managing moisture is essential. I make sure there’s good ventilation in the space, especially if my LED wall-mounted mirror is near a shower or sink. Wiping away condensation and ensuring no water collects around the wiring or switches helps prevent electrical issues over time. Even though most LED mirrors are designed with moisture resistance, consistent care can significantly prolong their performance.
Check LED Lights and Touch Sensors Regularly
Every few months, I like to test all the mirror’s functions — the LED lights, touch sensors, and, if available, the anti-fog feature. If I notice any dimming or delayed response from the touch controls, it’s often a sign that the connections need a quick check. Regular inspection allows me to catch small issues early, before they turn into costly repairs. Keeping the mirror’s touch interface clean also helps maintain sensitivity and responsiveness.
Replacing LED Components Safely
Although LED lights have an impressively long lifespan, there may come a time when replacement is necessary. When that happens, I always start by disconnecting the power completely at the breaker. Then, following the manufacturer’s guide, I remove the back panel carefully to access the LED strip or driver. If I’m unsure about any part of the process, I prefer to call a professional — safety is worth more than the time saved by a risky shortcut. A properly replaced LED component ensures consistent lighting and keeps the mirror working like new.
In my experience, maintaining an LED bathroom mirror is simple if you treat it with the same care you used during installation. With a gentle touch, consistent cleaning, and occasional checks, your LED mirror will stay bright, reliable, and beautiful for many years to come.

7. When to Call a Professional
As much as I enjoy tackling home projects myself, I’ve learned that some situations call for professional help — especially when it comes to LED mirror installation involving complex wiring or advanced smart features. Knowing when to step back and bring in an expert not only protects your investment but also ensures your home remains safe and compliant with electrical regulations.
If the Wiring Seems Complicated or Unsafe
While most LED bathroom mirrors are straightforward to install, I’ve encountered setups where the wiring was more intricate than expected. If the electrical connections are confusing, or if you notice mismatched wire colors, exposed cables, or moisture near the circuit, it’s best not to take chances. I once thought I could fix a tricky wiring issue on my own — until I realized it was safer (and cheaper in the long run) to call a licensed electrician. A professional can properly connect the power supply and ensure the LED mirror functions safely without electrical hazards.
For Smart Mirrors Requiring Wi-Fi or App Integration
Some high-end LED mirrors now come with smart technology — integrated Bluetooth speakers, touch controls, temperature displays, or even Wi-Fi connectivity for app control. When I installed my first smart mirror, I found that setting up the network connection and syncing it with the app was more technical than I expected. In such cases, hiring a technician familiar with smart home systems can save hours of frustration and guarantee smooth functionality.
When Local Electrical Codes Require Certified Installation
Depending on where you live, certain regions have strict regulations around electrical work. I once discovered that my city required certified electricians for any hardwired LED mirror installation. Even if you’re confident in your DIY skills, failing to comply with these local codes could void your home insurance or warranty. Consulting a professional ensures your installation meets all safety and legal standards — and gives you peace of mind that everything is done right.
In my experience, calling a professional doesn’t mean giving up on a DIY project — it means knowing your limits and prioritizing safety. Whether it’s handling complex wiring, setting up smart features, or meeting local electrical codes, the right expert can help ensure your LED mirror installation looks flawless and works perfectly from day one.

8. Conclusion
Take Pride in Your DIY Achievement
Completing an LED mirror installation is more than just upgrading your bathroom — it’s a rewarding DIY accomplishment that adds both function and beauty to your home. When I finished my first installation, I couldn’t help but admire the soft glow, the clean lines, and the professional finish that I had achieved with my own hands. Installing an LED bathroom mirror isn’t just about following steps; it’s about taking ownership of your space and enjoying the satisfaction that comes from creating something polished and personal.
Safety and Preparation Make All the Difference
If there’s one thing I’ve learned through my DIY LED mirror projects, it’s that careful planning and safety always pay off. Taking the time to check your wiring, use the right tools, and prepare your workspace ensures a smooth installation process. And when in doubt — especially with electrical connections — it’s never wrong to call a professional. A little patience and preparation go a long way toward creating a reliable, safe, and stylish bathroom centerpiece.
Find the Perfect LED Mirror for Your Bathroom
Whether you’re renovating your master suite or simply refreshing a guest bath, the right LED mirror can completely transform the space. From minimalist wall-mounted styles to smart mirrors with touch sensors and anti-fog features, there’s something for every taste and setup. If you’re ready to start your own project, I encourage you to explore our LED mirror collection and find the perfect match for your bathroom — one that reflects both your style and your craftsmanship.
The link to the product in this article:
Featured Products


AISU 24" Round Belt Hang LED Bathroom Mirror, Dimmable, Anti-Fog, CCT Adjustable
- $91.77
- $91.77
- Unit price
- per


AISU 32" Round Belt Hang LED Bathroom Mirror, Dimmable, Anti-Fog, CCT Adjustable
- $241.29
- $241.29
- Unit price
- per


AISU 39x28" Modern Aluminium Bathroom Cabinets with LED Lights
- $222.65
- $222.65
- Unit price
- per


AISU 35 x 28" Aluminium Medicine Cabinet Mirror with LED Light
- $225.59
- $225.59
- Unit price
- per


AISU Modern Bathroom Mirror with LED Lights, Horizontal/Vertical
- from $143.38
- from $143.38
- Unit price
- per


Frameless Blacklit LED Mirror with Anti-Fog, Dimmable, CCT Adjustable, IP54 Waterproof
- from $82.46
- from $82.46
- Unit price
- per


24 Inch Bathroom Vanity LED Mirror with Anti-Fog, Dimmable, CCT Adjustable, IP54 Waterproof
- $91.77
- $91.77
- Unit price
- per


32*32 Inch Bathroom Vanity LED Mirror with Anti-Fog, Dimmable, CCT Adjustable, IP54 Waterproof
- $227.57
- $227.57
- Unit price
- per


Bathroom Vanity LED Mirror with Anti-Fog, Dimmable, CCT Adjustable, IP54 Waterproof Vertical & Horizontal
- from $113.29
- from $113.29
- Unit price
- per


24inch Bathroom Led Classy Vanity Mirror, Black aluminum alloy frame, IP54 Waterproof
- $154.77
- $154.77
- Unit price
- per