How to Install a Bathroom Vanity: A Step-by-Step Guide
Introduction
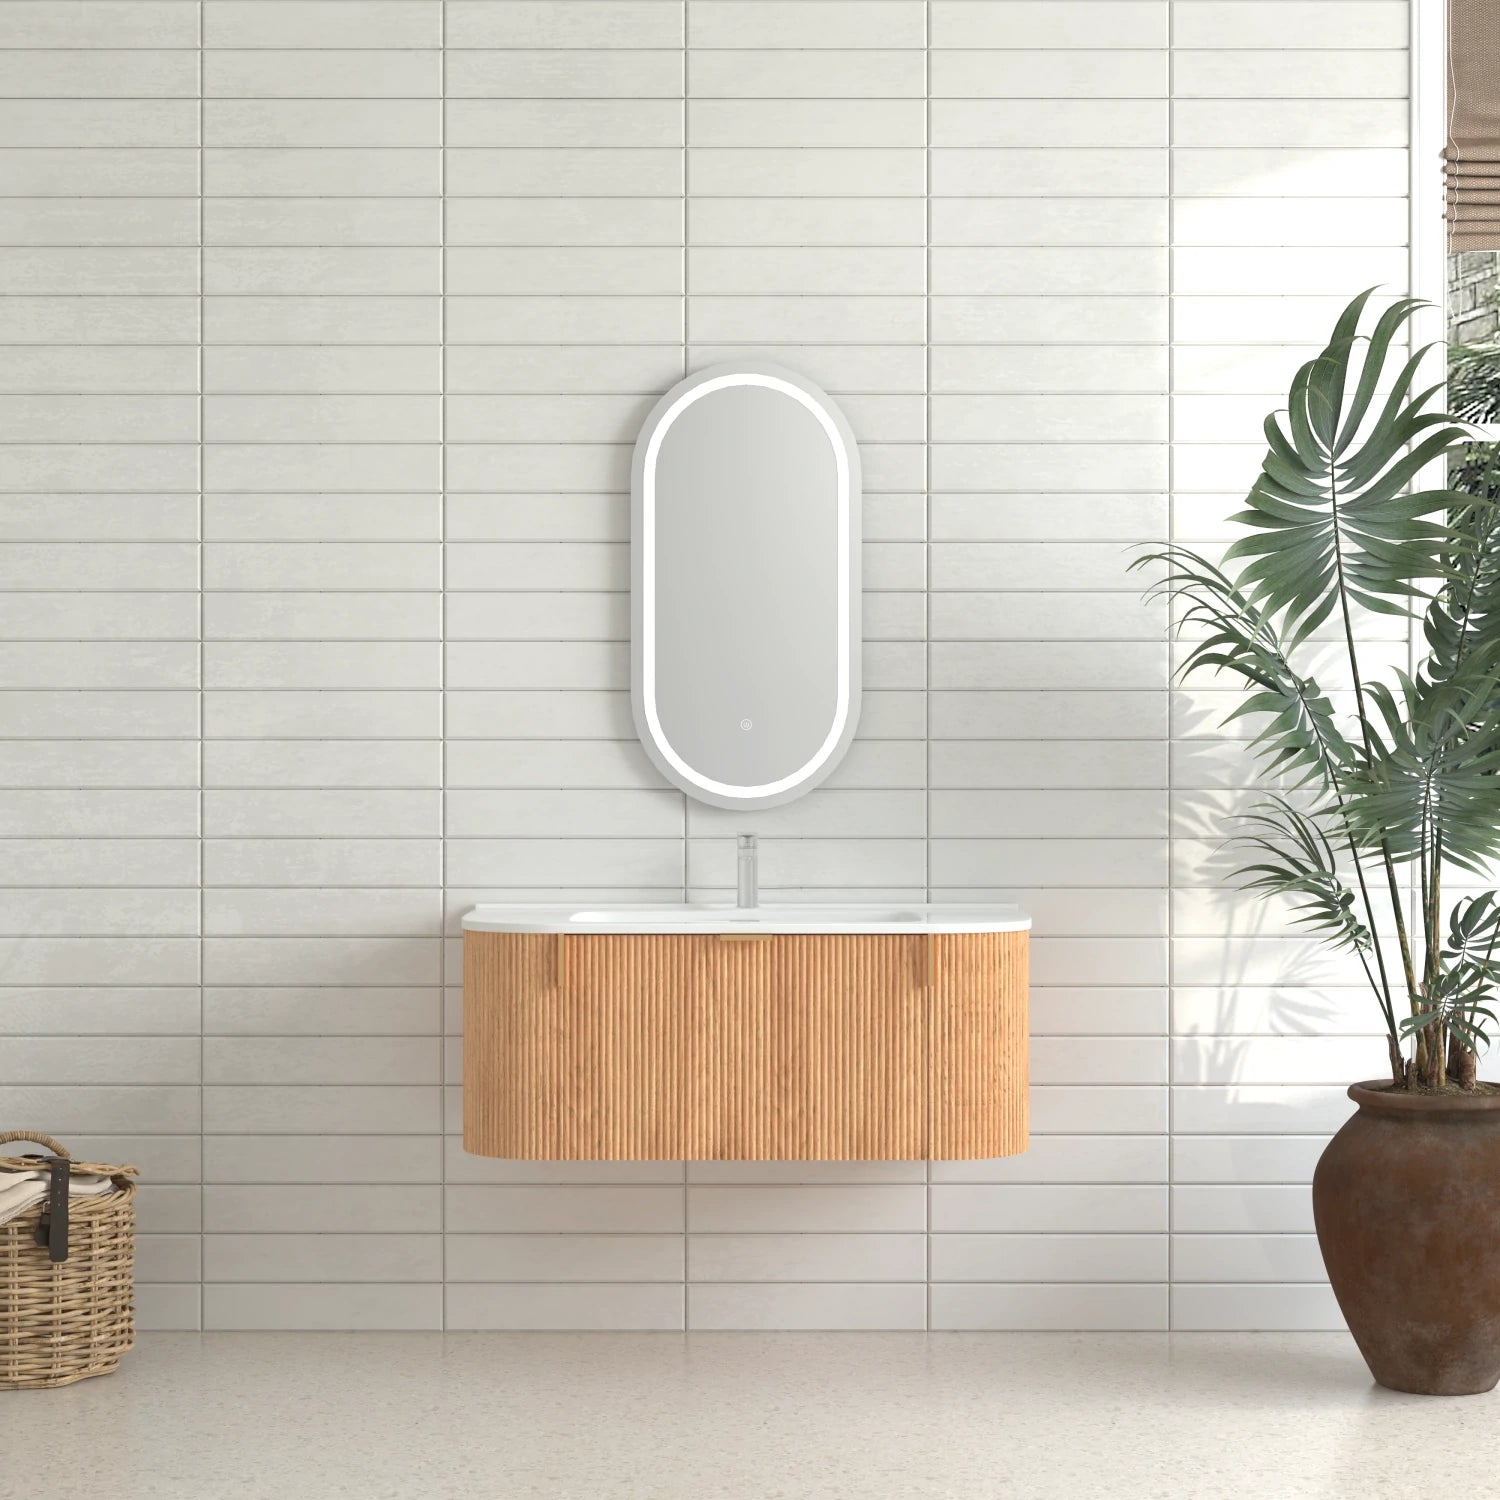
A bathroom vanity is more than just a storage unit—it’s the centerpiece of your bathroom, blending style with functionality. Whether you’re upgrading an outdated design or installing a brand-new vanity, this DIY project can significantly enhance your space without the need for professional help.
The good news? Installing a bathroom vanity is easier than you might think. With the right tools, a step-by-step approach, and a bit of patience, you can handle the installation yourself. In this guide, I’ll walk you through everything from positioning the vanity to securing the plumbing, ensuring a smooth and hassle-free process.
Before we dive in, here’s what you’ll need:
Tools:
- Tape measure
- Level
- Drill and screwdriver
- Adjustable wrench
- Utility knife
- Caulking gun
Materials:
- New bathroom vanity and countertop
- Faucet and sink (if not pre-installed)
- Plumber’s tape
- Silicone sealant
- Screws and anchors
Now, let’s get started on your bathroom vanity installation!
Step 1: Preparing for Installation
Before I start installing my new bathroom vanity, I need to make sure everything is properly set up. A little preparation goes a long way in making the vanity installation smooth and hassle-free.
Measure the Space
First, I grab my tape measure and check the width, depth, and height of the installation area. It’s crucial to ensure my new vanity fits perfectly and aligns with existing plumbing setup. I also check for any obstacles, like baseboards or uneven walls, that might affect the placement.
Check the Plumbing and Wall Condition
Next, I inspect the plumbing connections. The drain and water supply lines should be in the right position for my new vanity. If adjustments are needed, now’s the time to make them. I also check the wall for any damage or mold—fixing issues before installation saves me from bigger problems later.
Remove the Old Vanity (If Needed)
If I’m replacing an existing vanity, I start by turning off the water supply and disconnecting the sink plumbing. Using a wrench, I carefully remove the faucet and drain pipes. Then, I loosen any screws securing the old vanity to the wall and gently pull it out. Once it’s removed, I clean up any leftover caulk or debris to create a fresh surface for my new bathroom vanity installation.
With everything prepped, I’m ready to move on to positioning the new vanity!

Step 2: Positioning the New Vanity
Now that my space is prepped, it’s time to position my new bathroom vanity. Proper alignment is key to ensuring a smooth vanity installation and avoiding plumbing issues down the road.
Align with Existing Plumbing
I carefully move the vanity into place, making sure the cutouts on the back align with my sink plumbing setup. If the vanity doesn’t have pre-cut holes, I measure and cut openings for the drain and water supply lines using a hole saw.
Ensure It's Level
Before securing anything, I grab my level and check both the front-to-back and side-to-side alignment. If the vanity isn’t sitting evenly, I use shims to make adjustments. A properly leveled vanity prevents water pooling and ensures the sink installation works correctly.
Once everything is aligned and leveled, I’m ready to secure the vanity to the wall in the next step!

Step 3: Securing the Vanity to the Wall
With my bathroom vanity properly positioned, it's time to secure it to the wall. This step ensures the vanity stays stable and provides a solid foundation for the sink installation.
Mark and Drill
Using a pencil, I mark the drill points through the pre-drilled holes on the vanity’s back panel, making sure they align with the wall studs for maximum support. If studs aren’t available, I use wall anchors for extra stability. Then, I drill pilot holes and secure the vanity with screws, tightening them just enough to hold everything firmly in place.
Use Shims if Needed
If my floor or wall is slightly uneven, I place shims underneath or behind the vanity to correct the alignment. After adjusting, I recheck with a level to make sure everything is perfectly straight.
Now that my vanity installation is secure, I’m ready for the next step—installing the sink and countertop!

Step 4: Installing the Sink and Countertop
With my bathroom vanity installation secured, it’s time to add the sink and countertop. This step brings everything together and gives the vanity its finished look.
Position and Seal the Countertop
I carefully place the countertop onto the vanity, making sure it’s aligned properly. If it’s a separate piece, I apply a thin bead of silicone sealant along the top edges of the vanity before setting it down. Once positioned, I press gently to ensure a secure fit.
Attach the Sink
For a drop-in sink, I apply plumber’s tape around the drain opening and lower it into place, sealing the edges with silicone. For an undermount sink, I follow the manufacturer’s instructions, using brackets and adhesive to secure it beneath the countertop.
Once everything is in place, I let the sealant dry before moving on to the next step—connecting the plumbing!

Step 5: Connecting the Plumbing
Now that my sink installation is complete, it’s time to connect the plumbing and get the water flowing. A few careful steps here ensure everything runs smoothly without leaks.
Attach the Faucet and Water Supply Lines
I start by installing the faucet, following the manufacturer’s instructions. Once secured, I connect the hot and cold water supply lines, tightening them with an adjustable wrench. A quick check ensures they’re snug but not overtightened.
Install the P-Trap and Drain Assembly
Next, I attach the drain assembly to the sink, applying plumber’s tape around the threads for a watertight seal. I then connect the P-trap, making sure it aligns properly with the existing drain pipe.
Check for Leaks
Before finishing up, I turn on the water and let it run while inspecting all connections for leaks. If I spot any drips, I tighten the fittings as needed.
With the plumbing installation complete, my bathroom vanity is now fully functional! The final step is adding finishing touches for a polished look.

Step 6: Final Adjustments and Cleanup
With my bathroom vanity installation complete, it’s time for the finishing touches to ensure everything looks polished and functions perfectly.
Seal Gaps for a Finished Look
I apply a thin bead of silicone caulk along the edges where the vanity meets the wall and around the sink to prevent water from seeping in. Using a damp finger or a caulk tool, I smooth out the sealant for a clean, professional finish.
Clean Up and Test Functionality
Next, I wipe down the vanity, countertop, and sink, removing any dust, fingerprints, or excess sealant. I also double-check that all drawers and cabinet doors open smoothly. Finally, I turn on the faucet one last time to ensure there are no leaks and that the plumbing installation is working perfectly.
Now, my new bathroom vanity is fully installed and ready to use!
Conclusion
Installing a bathroom vanity may seem like a big task, but by following these steps—preparing the space, positioning and securing the vanity, installing the sink and countertop, connecting the plumbing, and adding final touches—I was able to complete the project successfully.
This DIY vanity installation not only refreshed my bathroom’s look but also gave me a sense of accomplishment. With the right tools and careful planning, anyone can take on this project with confidence. However, if unexpected plumbing issues arise or the installation feels overwhelming, there’s no shame in calling a professional for help.
Now, I can enjoy my new bathroom vanity, knowing I installed it myself!
Featured Products


AISU 48" Wall-Mounted Bathroom Vanity with White Resin Sink & 3-Soft-Close Door, KD-Packing, Plywood, Imitative Oak
- $736.35
- $736.35
- Unit price
- per


AISU 28" Wall-Mounted Bathroom Vanity with White Ceramic Sink & 1-Soft-Close Door, KD-Packing, Plywood
- $359.41
- $359.41
- Unit price
- per


AISU 60" Wall-Mounted Bathroom Vanity with White Resin Sink & 4-Soft-Close Door, KD-Packing, Plywood, Imitative Oak
- $883.95
- $883.95
- Unit price
- per


AISU 24" Wall-Mounted Bathroom Vanity with White Ceramic Sink & 1-Soft-Close Door, KD-Packing, Plywood
- $327.83
- $327.83
- Unit price
- per


AISU 60" Freestanding Plywood Bathroom Cabinet with 4 Diagonal Doors&Open Shelf, 2 Black Stone Pattern Ceramic Basins&Carrara White Sintered Stone Top, Dark Walnut Woodgrain
- $1,386.73
- $1,386.73
- Unit price
- per


AISU 36" Freestanding Plywood Bathroom Cabinet with 2 Diagonal Doors&Open Shelf, Black Stone Pattern Ceramic Basin&Carrara White Sintered Stone Top, Dark Walnut Woodgrain
- $594.19
- $594.19
- Unit price
- per


AISU 30" Freestanding Plywood Bathroom Cabinet with 2 Diagonal Doors&Open Shelf, Black Stone Pattern Ceramic Basin&Carrara White Sintered Stone Top, Dark Walnut Woodgrain
- $560.59
- $560.59
- Unit price
- per


AISU 48" Freestanding Plywood Bathroom Cabinet with 3 Diagonal Doors&Open Shelf, Black Stone Pattern Ceramic Basin&Carrara White Sintered Stone Top, Dark Walnut Woodgrain
- $739.53
- $739.53
- Unit price
- per


AISU 60" Freestanding Plywood Bathroom Cabinet with 4 Diagonal Striped Doors&Open Shelf, 2 Black Oval Ceramic Basins&Carrara White Sintered Stone Top, Dark Walnut Woodgrain
- $1,420.40
- $1,420.40
- Unit price
- per


AISU 30" Freestanding Plywood Bathroom Cabinet with 2 Diagonal Striped Doors&Open Shelf, Black Striped Oval Ceramic Basin&Carrara White Sintered Stone Top, Dark Walnut Woodgrain
- $576.59
- $576.59
- Unit price
- per


AISU 48" Freestanding Plywood Bathroom Cabinet with 3 Diagonal Striped Doors&Open Shelf, Black Striped Oval Ceramic Basin&Carrara White Sintered Stone Top, Dark Walnut Woodgrain
- $755.53
- $755.53
- Unit price
- per


AISU 36" Freestanding Plywood Bathroom Cabinet with 2 Diagonal Striped Doors&Open Shelf, Black Striped Oval Ceramic Basin&Carrara White Sintered Stone Top, Dark Walnut Woodgrain
- $610.19
- $610.19
- Unit price
- per


AISU 60" Freestanding Plywood Bathroom Cabinet with 3 Diagonal Striped Doors&Open Shelf, 2 Black Transport Glass Basins&Carrara White Sintered Stone Top, Dark Walnut Woodgrain
- $1,420.93
- $1,420.93
- Unit price
- per


AISU 48" Freestanding Plywood Bathroom Cabinet with 3 Diagonal Striped Doors&Open Shelf, Black Transport Glass Basin&Carrara White Sintered Stone Top, Dark Walnut Woodgrain
- $759.74
- $759.74
- Unit price
- per


AISU 30" Freestanding Plywood Bathroom Cabinet with 2 Diagonal Striped Doors&Open Shelf, Black Transport Glass Basin&Carrara White Sintered Stone Top, Dark Walnut Woodgrain
- $580.81
- $580.81
- Unit price
- per